I have been reflecting a lot about the difference between the projects I get done, and the ones that stay in the ideas category. There are several, and of course, some of them are out of our control, but looking at the difference between what I did or what I did not do for each of these projects, there are three main things these projects that made it to the light have in common:
- I drew them (you can draw or write them down)
- I was so serious about them, that I wrote on different parts of my drawing what I needed to do to achieve it!
- I took constant and small actions that got me closer to them every day! Big jumps might be scary and risky, but make your steps small and attainable and you will feel accomplishment and see how little actions add up!
Now, let’s get to the drawing part (no surprise here)… I want to share some tips, materials, and apps that have worked well for me. All you need to start your visual journey besides an open mind is some paper and markers! Sure, if you want to be more sophisticated you can also do this with a tablet and pen (we will also talk about this).
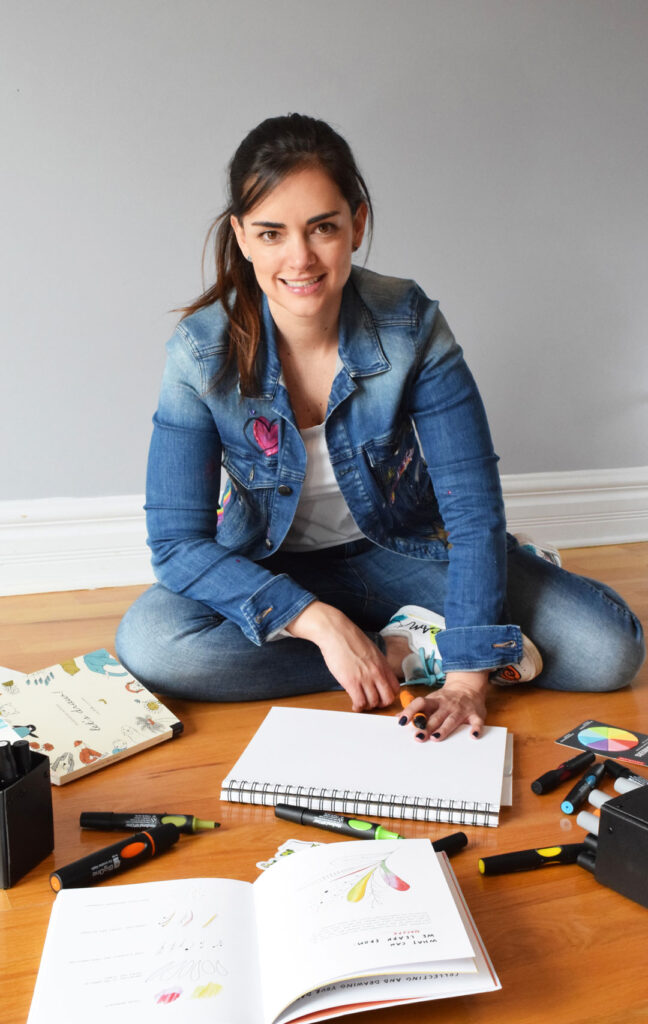
Analog (paper) notes:
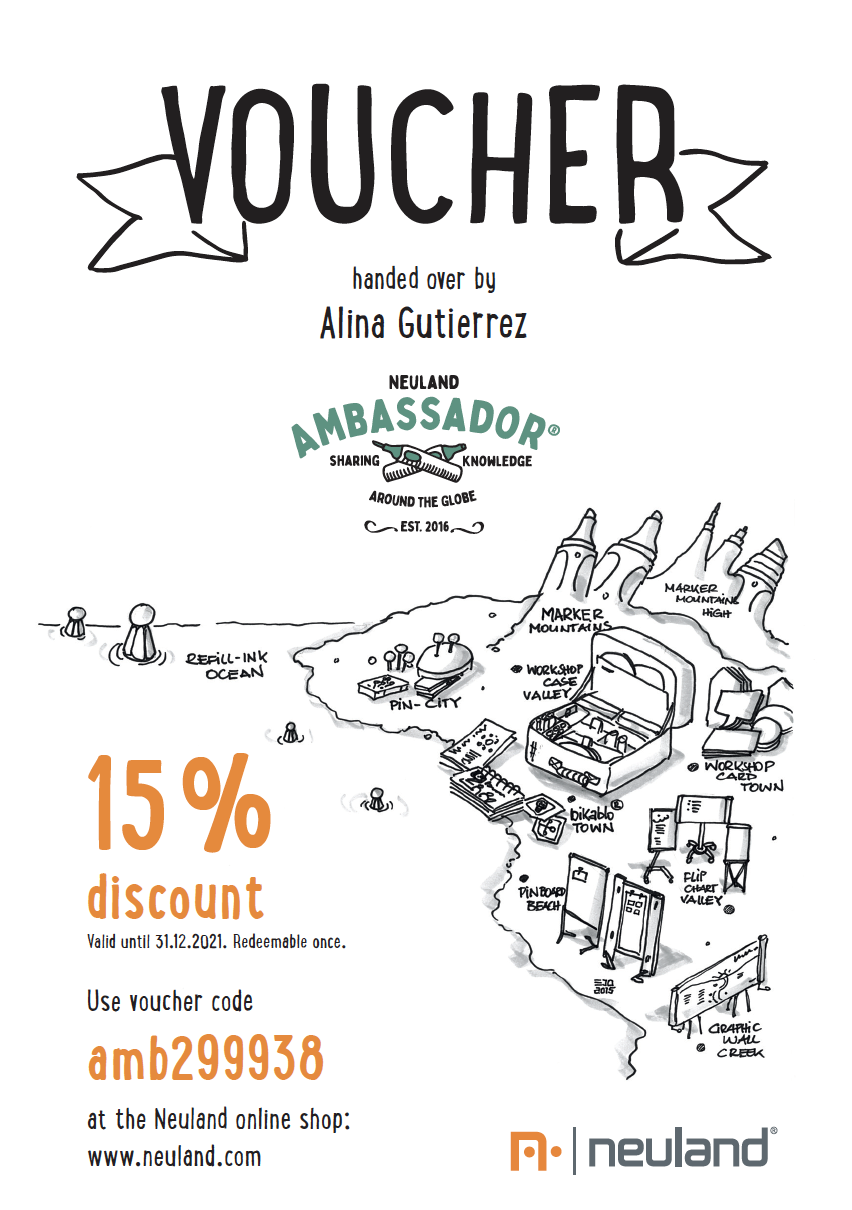
After almost ten years of taking visual notes, I have tried A LOT of markers and I can tell you without a doubt, my favourites are NEULAND, by far! They are water-based and can be refilled, also…. you can get blank markers and mix ink to create your own colors!!!! If you want to give them a try, as part of this amazing community you get 15% off (see the code below), and you can also check my favourite product at this link VOUCHER BY ALINA GUTIERREZ
When working on paper it is always good to have some white labels to cover little mistakes, and pastel colors to add a final touch to your visuals.
Now you know about the materials, if you want to get started try some tutorials from here.
Now… for those tech lovers…
A tablet and pen are all you need. The options might be overwhelming and it also depends if you are team Apple or Team Microsoft 😜
For Ipad owners, my favorite app of all is Procreate! It is easy to use and has amazing features to animate your visuals and create your own gifs.
For non-Apple users: Ibis paint
For both (apple and not): Sketchbook, Adobe Draw, Sketches
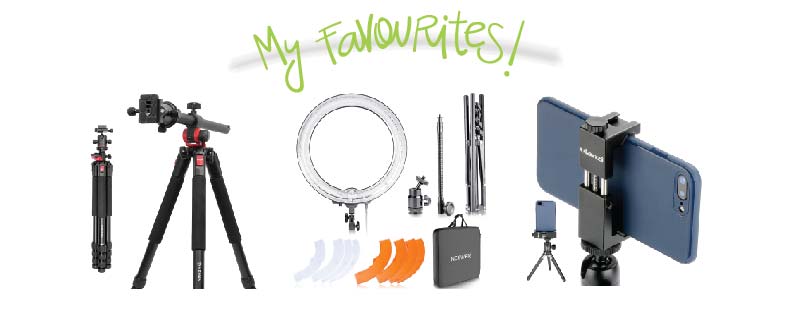
With either analog or digital tools, these are some of my favourite gadgets that have a good set-up if you want to take notes during an online meeting:
You do not need all these to start, I got one by one and slowly kept adding to my list 😉 to see it click here.
Now you are set up… all you have left to do is practice, practice, and practice!
Even five minutes a day makes a difference. Visual notes are no different from any other skill, the only way to get better is by constantly practicing! So, try to make space during your day or make it part of something you already do during the day, at least a few times a week in order to really see some improvements. Vary your practices, try some doodles, lettering, shapes, layouts, or mind maps. Oh and do not forget to have FUN!
If you have any questions along the way, don’t hesitate to reach out to us! We will be happy to connect!
